使用 Zsh 作为默认 shell
// TODO 吹一下 zsh
安装 zsh
# 安装 zsh
sudo apt install zsh -y

# 修改默认 shell 为 zsh
sudo chsh -s /bin/zsh
重启 wsl,或者干脆重启电脑生效。
安装 oh-my-zsh
sh -c "$(curl -fsSL https://raw.github.com/robbyrussell/oh-my-zsh/master/tools/install.sh)"
可能需要代理。
安装 zsh 插件
# 安装 powerlevel10k 主题
git clone --depth=1 https://github.com/romkatv/powerlevel10k.git $ZSH_CUSTOM/themes/powerlevel10k

# 安装语法高亮 zsh-syntax-highlighting
git clone https://github.com/zsh-users/zsh-syntax-highlighting.git ${ZSH_CUSTOM:-~/.oh-my-zsh/custom}/plugins/zsh-syntax-highlighting

# 安装自动建议 zsh-autosuggestions
git clone git://github.com/zsh-users/zsh-autosuggestions ${ZSH_CUSTOM:-~/.oh-my-zsh/custom}/plugins/zsh-autosuggestions
从 win10 下载并安装以下字体,以获得 powerlevel10k 主题更好的显示效果:

配置 zsh
在 .zshrc 中编辑以下部分:
# (可选)允许其他用户共用你的配置不弹出警告
ZSH_DISABLE_COMPFIX="true"

# 默认情况下,zsh 会试图在低优先级运行后台任务,但是 Windows 不允许,所以将以下内容添加到. zshrc 文件开头可以改变 zsh 的行为
case $(uname -a) in
  *Microsoft*) unsetopt BG_NICE ;;
esac

# 启用 powerlevel10k 主题
ZSH_THEME="powerlevel10k/powerlevel10k"

# 启用插件
plugins=(
  # 按 z+{模糊文件夹名称} 快速跳转
  z
  # git 补全
  git
  # 忘了加 sudo 的时候按两下 esc
  sudo
  # docker 补全
  docker
  docker-compose
  # 按 x 解压任意类型压缩包
  extract
  # 彩色 man 手册
  colored-man-pages
  zsh-autosuggestions
  zsh-syntax-highlighting
)

# 配置终端颜色
export TERM="xterm-256color"

# 保存当前ip到 $IPADDRESS,免得每次都得打命令
IPADDRESS=$(ip addr show eth0 | grep "inet\b" | awk '{print $2}' | cut -d/ -f1)
输入 source .zshrc 让配置生效,
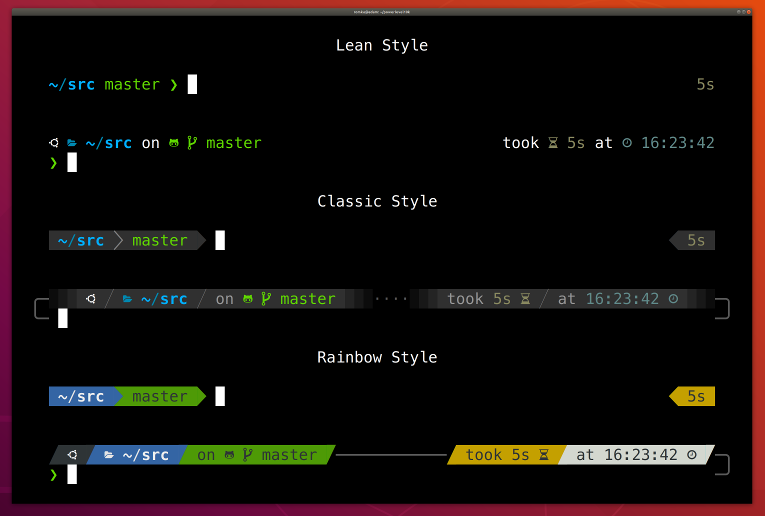
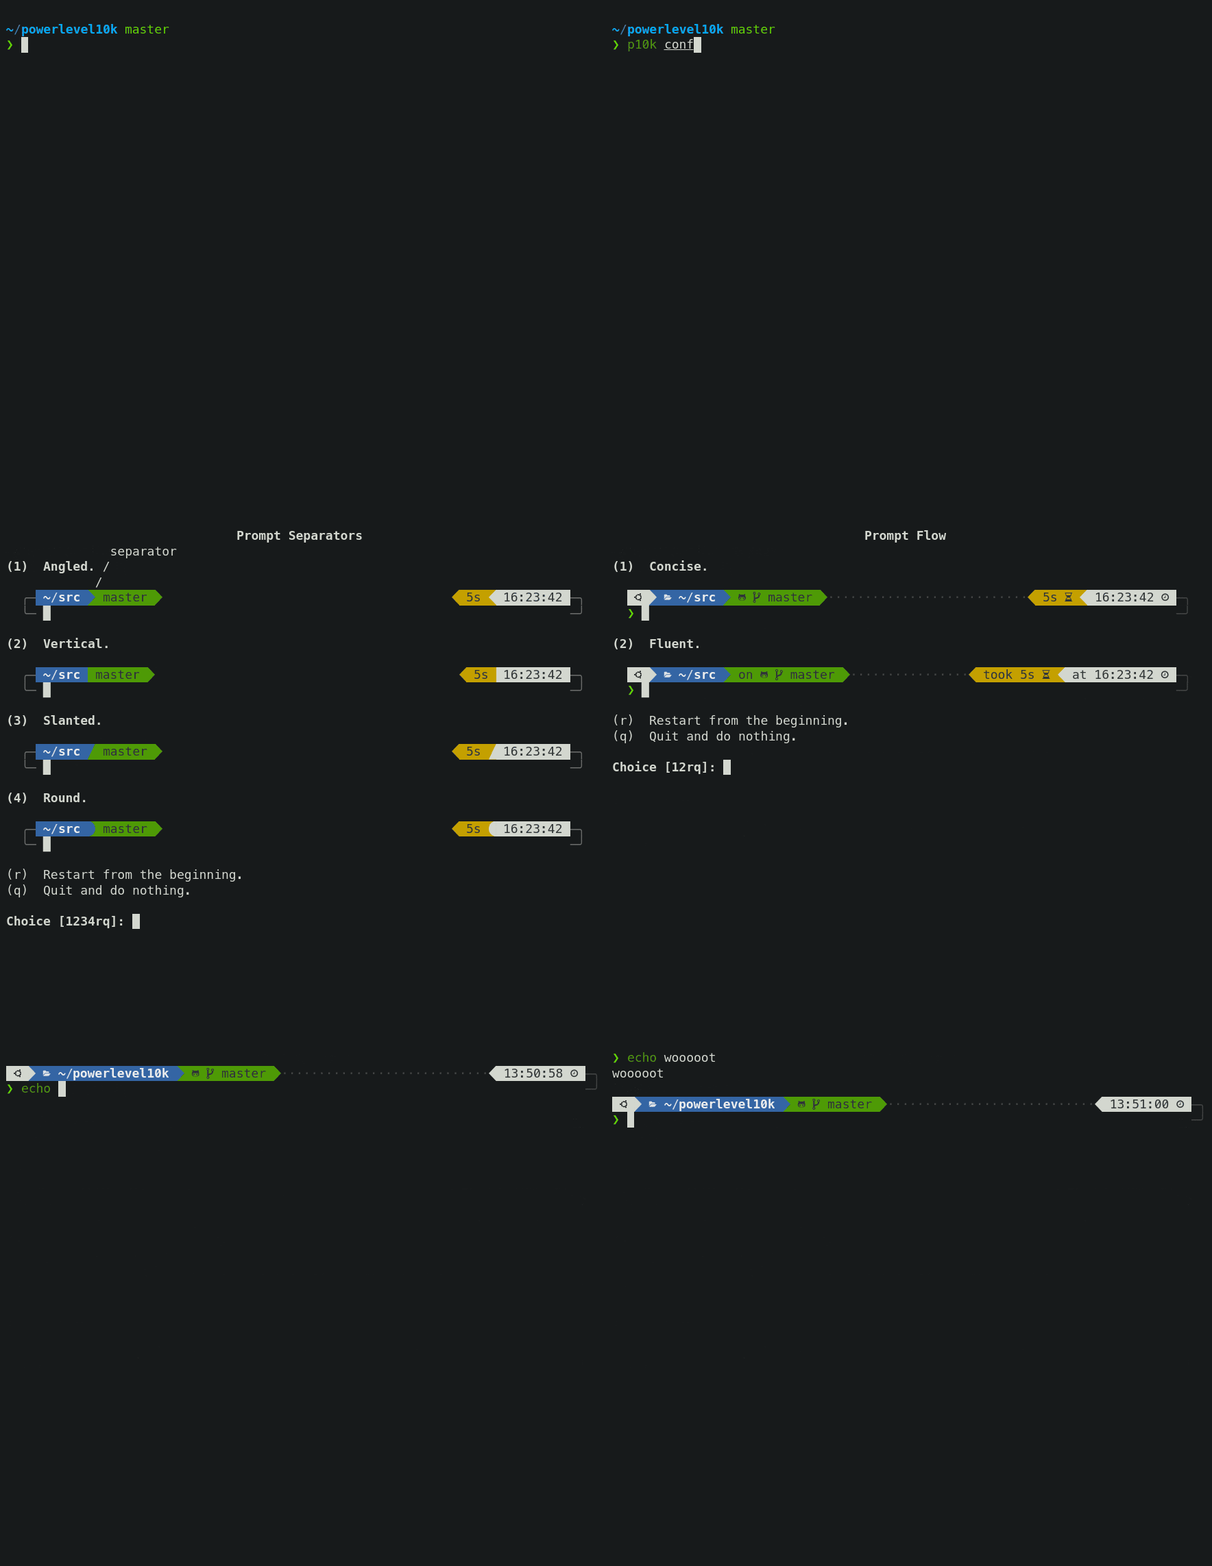
输入 p10k configure 配置 Powerlevel10k 主题设置。

完成后,拷贝 .zshrc 和 .p10k.zsh 文件到 root 用户根目录下,让 root 也使用相同配置,当然也可以分别设置。
一键启用 / 停用代理
Linux 下配置代理本来就略麻烦,Wsl2 又是完整的虚拟机,每次重启内部网络都会重新生成… 换句话说每次 Windows 和 Linux 的内网 IP 都在变化…
不过还是能配置好的。
将以下内容加入到你的 .zshrc 文件中,将 20809 改为你的代理的端口:
proxy() {
  local host_ip=$(cat /etc/resolv.conf |grep "nameserver" |cut -f 2 -d " ")
  export ALL_PROXY="http://${host_ip}:20809"
  export all_proxy="http://${host_ip}:20809"
  echo -e "Acquire::http::Proxy  \"http://${host_ip}:20809\";" | sudo tee -a /etc/apt/apt.conf > /dev/null
  echo -e "Acquire::https::Proxy \"http://${host_ip}:20809\";" | sudo tee -a /etc/apt/apt.conf > /dev/null
  git config --global http.proxy  http://${host_ip}:20809
  git config --global https.proxy http://${host_ip}:20809
  curl ip.sb
}

proxyoff() {
  unset ALL_PROXY
  unset all_proxy
  sudo sed -i -e '/Acquire::http::Proxy/d'  /etc/apt/apt.conf
  sudo sed -i -e '/Acquire::https::Proxy/d' /etc/apt/apt.conf
  git config --global --unset http.proxy
  git config --global --unset https.proxy
  curl ip.sb
}
执行 proxy 即可开启代理,wget,curl,git,apt 都会走代理。
执行 proxyoff 关闭。